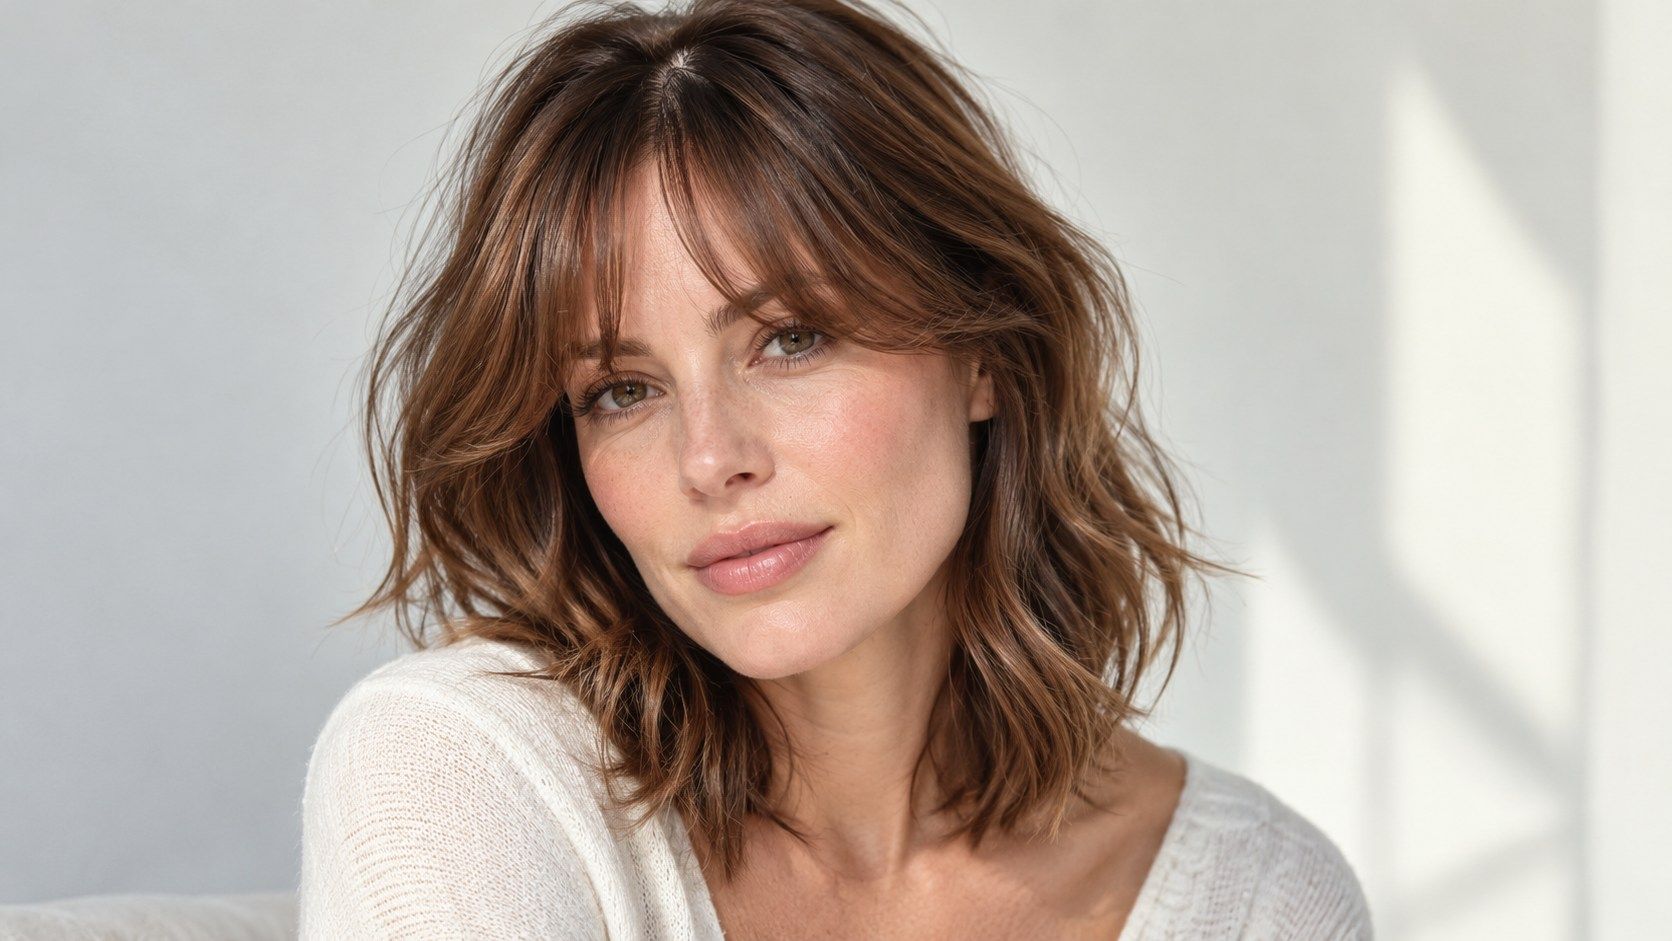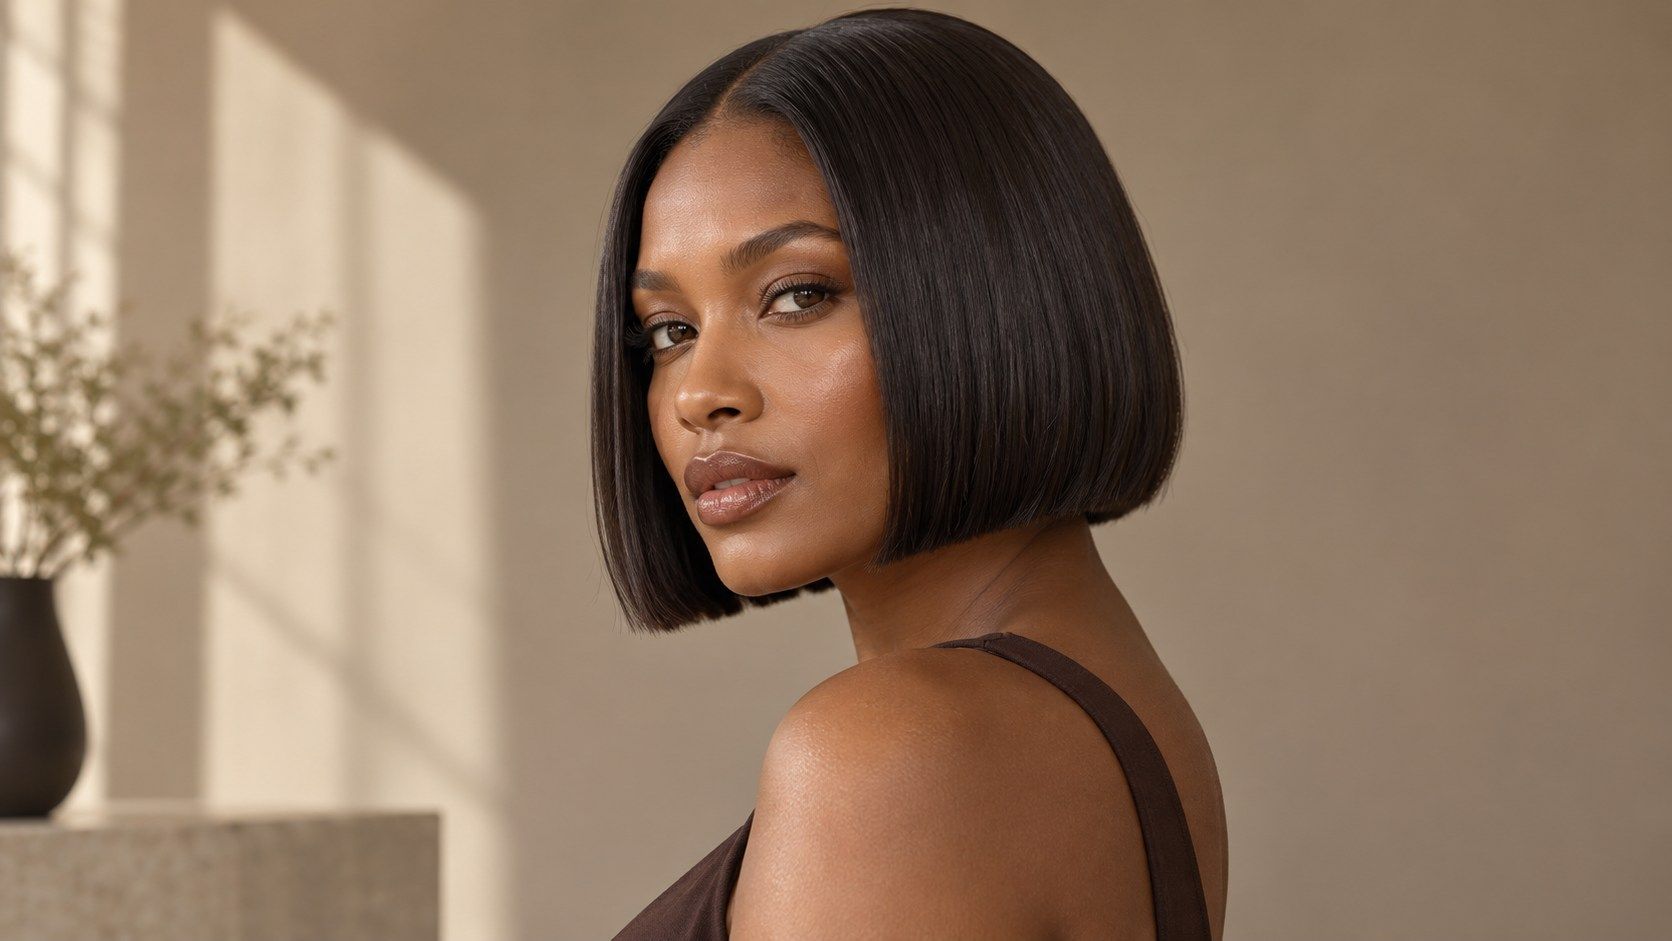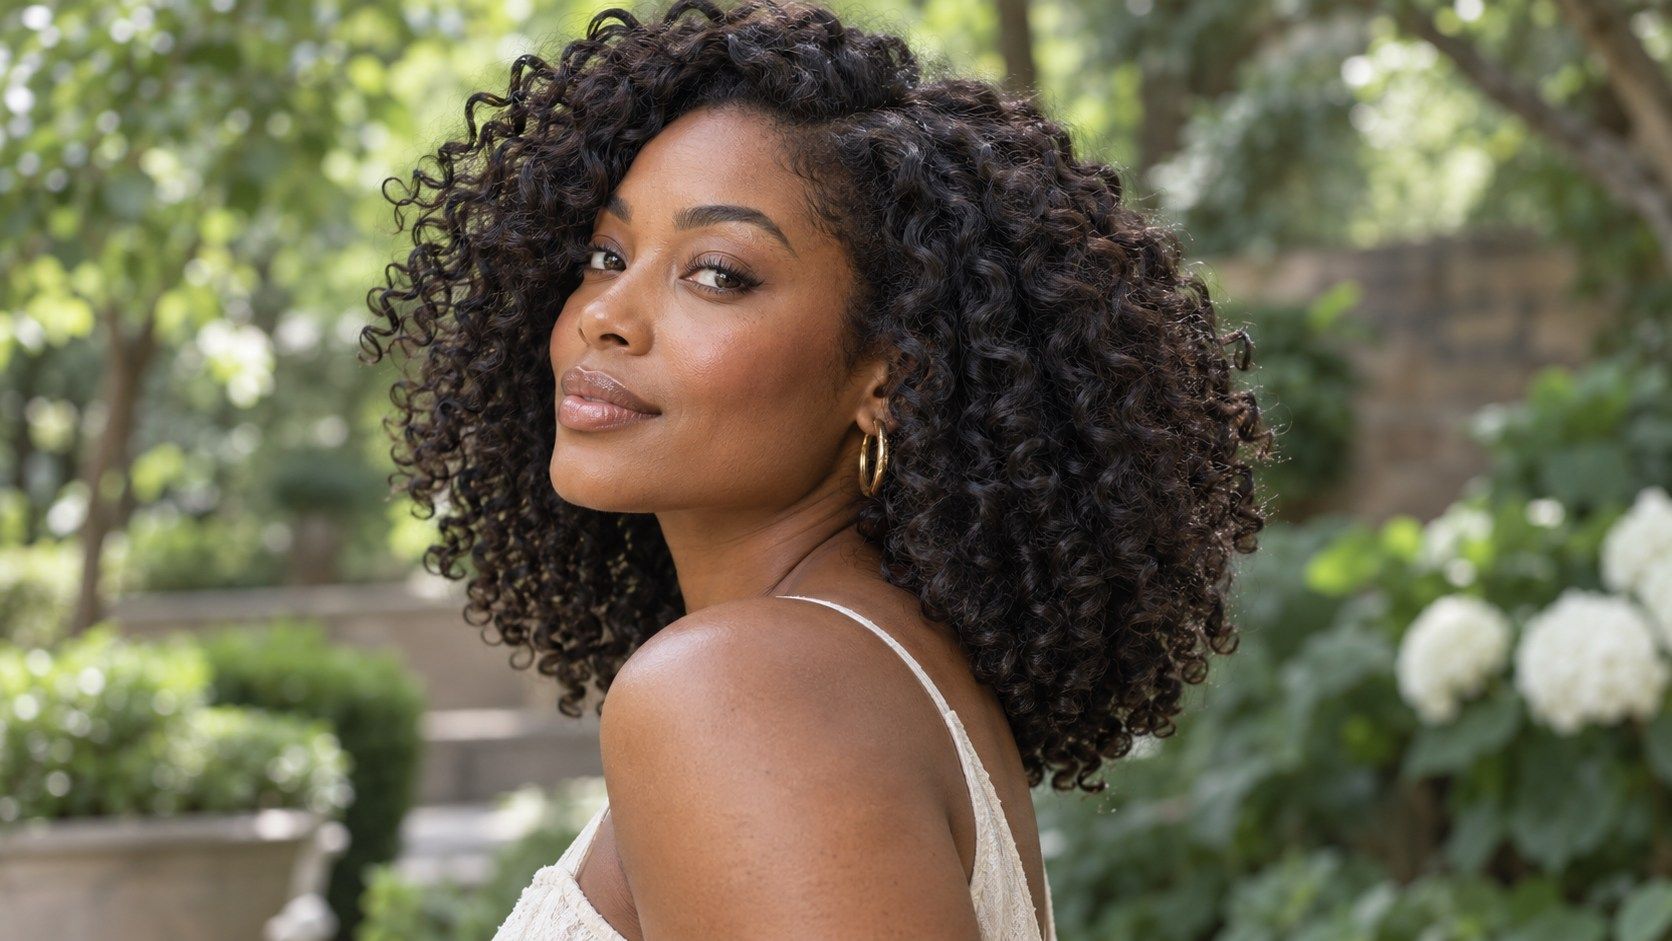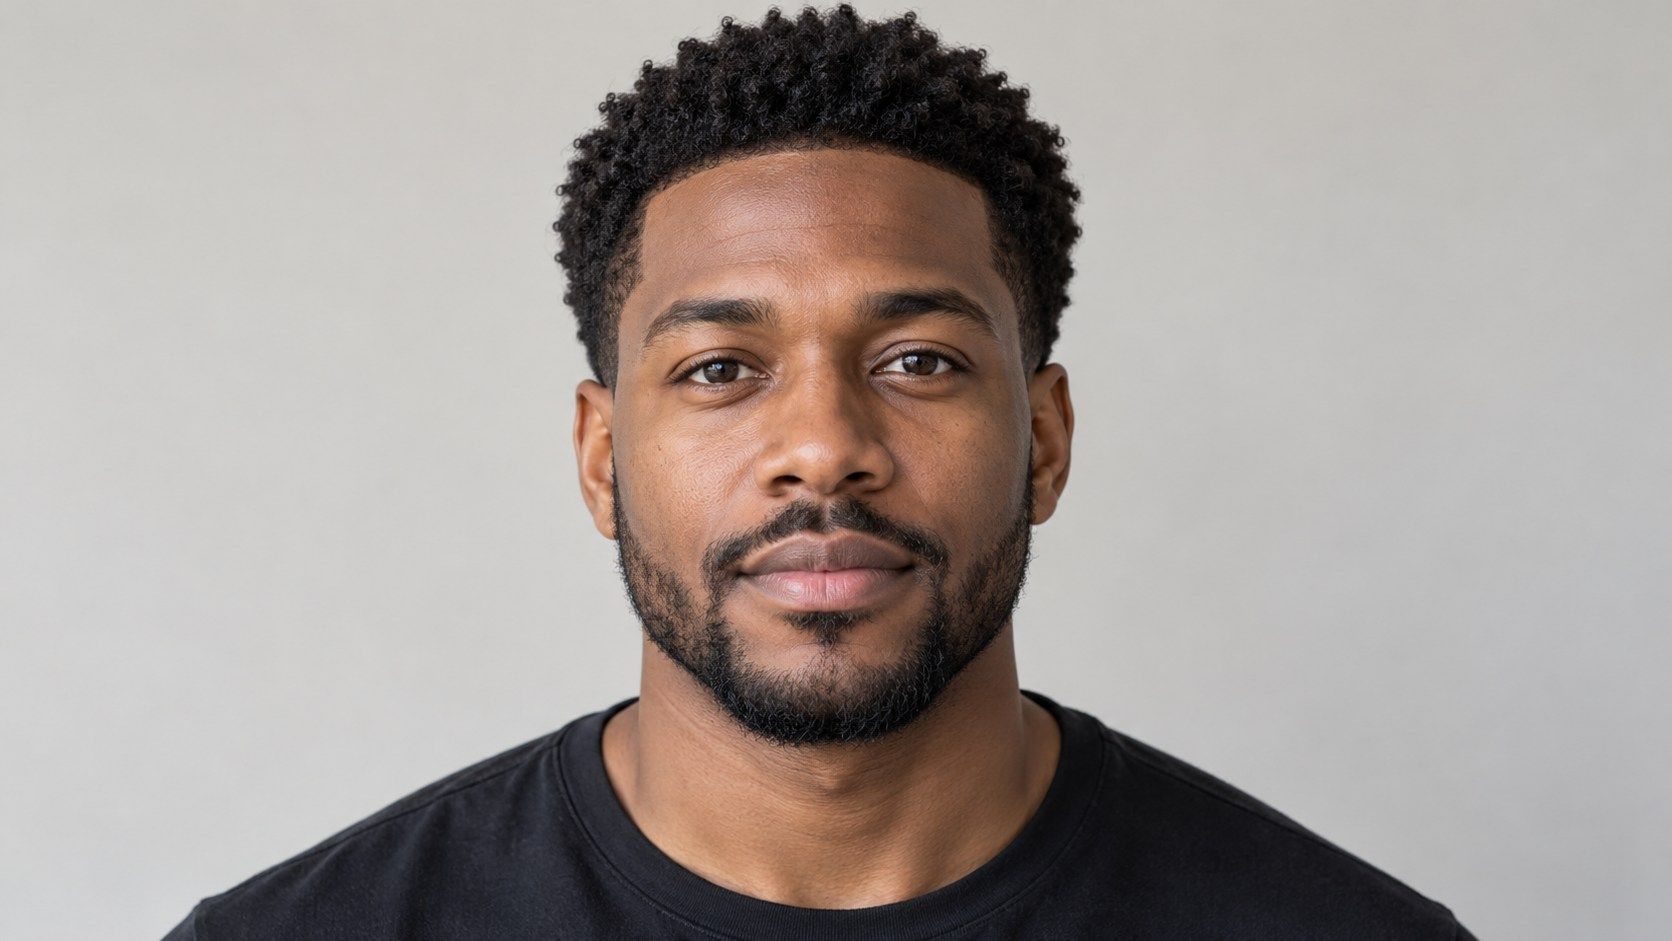
The best photo for a hairstyle app is a clear, ordinary image that lets the tool see your hairline, current length, and overall outline. You do not need studio lighting or a perfect pose. A consistent starting image simply makes comparisons easier to read, so changes in the preview are more likely to come from the hairstyle choice than from a new angle or filter. If you wear your hair in more than one common style, make separate baselines instead of forcing one photo to represent everything. A pulled-back look can show the hairline clearly, while a loose photo shows the natural outline and volume. Keep each set internally consistent so comparisons remain meaningful within that styling state.
Use even front lighting instead of dramatic shadows
Stand near a window or use soft room lighting that reaches both sides of your face. Strong light from above can create shadows at the temples, while backlighting can turn the hair into a dark outline. The goal is enough detail to distinguish the hairline, part, and ends. You do not need to remove every shadow; just avoid lighting that hides the area you want the preview to change. Check the image before uploading. Can you see individual sections of the outline against the background? Are the roots and ends both visible? If the hair blends into a dark wall, move to a lighter background; if pale hair disappears against a bright window, change position. A plain wall is often useful because it does not compete with the hair. Keep the setting comfortable and private, especially if the photo includes your face. A straightforward phone photo is usually more useful than a heavily edited portrait.
Check for small obstructions before taking the picture: hands near the head, earbud wires, a hood, or a patterned background crossing the hair edge. These details can confuse the boundary without being obvious on a small phone screen. Review the photo at full size once, then retake it if part of the outline disappears.
Keep the camera near eye level
Hold the camera around eye height and stand far enough away to avoid a distorted close-up. A camera below the chin can exaggerate the jaw and make the crown recede; a high angle can hide the sides or change the apparent shape of the head. Face the lens for the main comparison, with shoulders relaxed and head upright. A neutral expression helps keep the face and hairline unobstructed. If you are assessing a cut with a strong side profile, take a separate side view rather than turning sharply in the same frame. Hair tools vary in the views they can use, but a second reference can help you notice how a style sits near the ears and nape. Do not crop so tightly that the top or ends disappear. The picture should include the full hair shape, a small amount of shoulder, and enough space around the head for the outline to remain clear.
Color accuracy can matter when a style preview also changes shade. Choose light that does not cast a strong yellow or blue tint, and avoid filters that shift hair color. Even then, a screen may display colors differently from real life. Use the image mainly to compare shape unless the tool clearly supports a separate, reliable color preview.
Show your current hairline and length
Move hair away from the face only if that reflects the look you want to compare. The forehead, temples, part, and current ends give the simulator a starting point. A fringe, cap, scarf, or heavy side sweep may conceal those features. If you want to see how bangs or a new part might look, keep the baseline photo as unobstructed as possible so the comparison begins from visible information. Use a recent image after your usual styling routine. Hair can look different after a wash, a blow-dry, a braid-out, or a day of wear. If texture and shrinkage are central to the decision, include a photo in the state you wear most often. Avoid stretching or pinning the hair solely to make the tool accept it; that could create a less relevant starting point. The preview is only as informative as the source image, and small differences at the hairline can change the apparent fit.
Privacy deserves a quick check before you upload a face photo. Review the service’s own controls and decide whether you are comfortable using that image there. A useful source photo can be simple and unedited; you do not need to include personal details in the background. A plain wall keeps attention on the hair and limits distracting context.
Avoid filters and portrait effects
Beauty filters can smooth skin and alter facial proportions; portrait mode can blur wisps around the head. Both effects may interfere with a virtual try-on that needs to identify where hair begins and ends. Use the original camera image when possible, with no color filter, artificial blur, or face reshaping. If your phone automatically applies enhancements, select the unedited version from the photo library. Keep accessories out of the way when you can. Large earrings, glasses, headbands, or a hand near the hair can overlap the outline. You do not need to remove something you normally wear, but choose a second clear image if an accessory hides the area under review. A simple background also makes mask edges easier to inspect. If the preview still produces a halo or an abrupt cutout, the issue may be the tool’s processing rather than your photo; try a different source before drawing conclusions about the hairstyle.
If the first result has obvious gaps, halos, or hair covering the wrong area, retake the photo before rejecting the hairstyle idea. A slight change in light or background can improve the source image. If the same artifact remains, it may reflect the tool’s limits. Separate photo quality from hairstyle preference so one does not distort the other.
Reuse one photo for each comparison
Once you have a suitable baseline, use that same image for every style you compare. This keeps lighting, angle, expression, and hair state consistent. If one version looks more flattering, check whether the tool changed the hairstyle alone or whether the source image also changed. A small shift in camera height can make a fringe look longer or a fade appear higher. You can keep a simple note beside the saved previews: what changed, what you liked, and what seemed artificial. Compare only a few meaningful options at a time, such as a bob against shoulder length or a low fade against a higher one. If you switch to a new photo, treat it as a new set of comparisons rather than mixing results. A consistent photo does not make a simulator perfectly accurate, but it gives you a cleaner basis for discussing shape and preferences with a stylist.