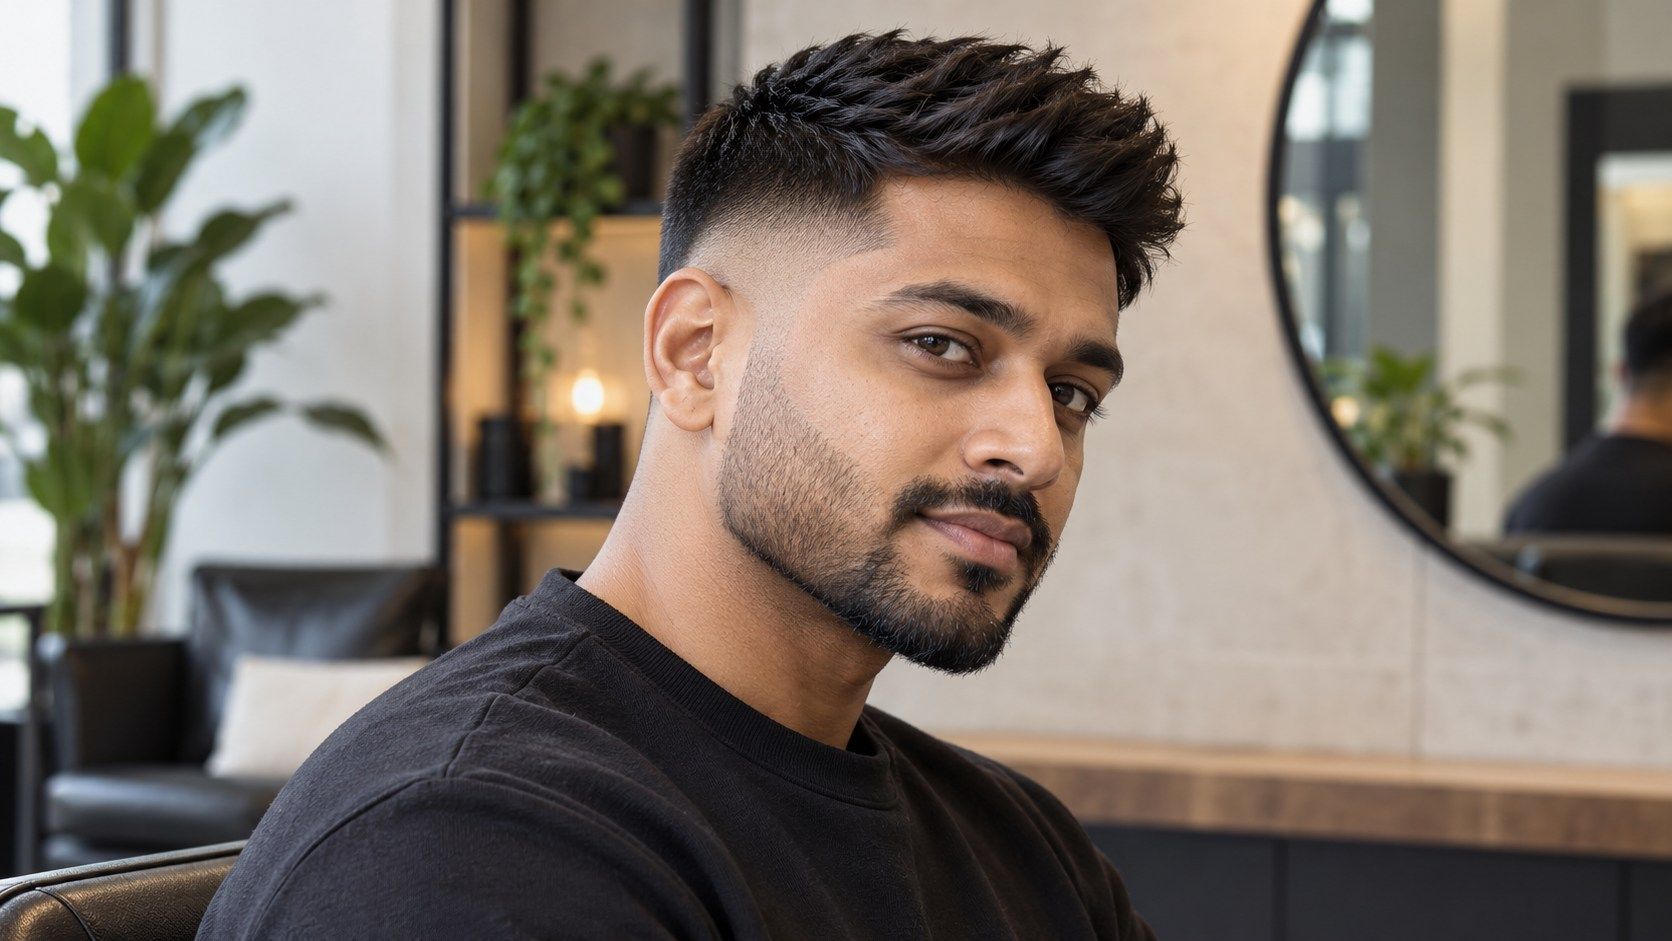
A men hairstyle simulator is useful when you want to compare a fade, a longer top, or a different part without relying on haircut names alone. Start with one clear photo and change one feature at a time. The result is a visual reference, not a guarantee of the barber’s finish: hair growth direction, density, texture, and the exact fade blend all affect the final cut. Be specific about how you normally style the top. A quick brush, a defined part, curls left loose, and product-directed texture can make the same length read as different cuts. If you want a result you can repeat without much effort, tell the barber what your morning routine looks like. A render with extra height may depend on techniques you do not plan to use.
Use a straight-on photo with a clear outline
For the fairest comparison, take a recent photo facing the camera, with the lens near eye level and enough light to see the temples. Keep your expression relaxed and your head level. A strong tilt can make one side appear shorter, while a close overhead light can hide detail at the hairline. If your hair is styled with product, use a photo that shows the finish you usually wear rather than a one-off look. The front view helps you assess symmetry and parting, but it does not show the full cut. Add a side or three-quarter reference if the tool allows it, especially when comparing a taper or fade. Keep the ears visible and avoid a hat. A beard can change the overall balance of the image, so leave it as it normally is if you want to judge hair and beard together. Reuse the same photo for each option to avoid mistaking a camera difference for a haircut difference.
If your hair is thinning in one area or grows in a strong direction, do not expect the preview to model it reliably. The overlay may add uniform coverage or ignore a cowlick. Treat those areas as questions for an in-person assessment. A barber can explain whether a shorter length, a different direction, or a softer transition will work with the growth you actually have.
Compare fade height as its own decision
A fade’s height changes the amount of contrast around the sides. In a low fade, the transition begins closer to the ear and nape; a higher fade carries the shorter area farther up the head. Names and boundaries vary between barbers, so use the preview to point to a location: “keep the blend below this point” is often clearer than relying on a label alone. A fade simulator may show a clean gradient without representing your actual hairline, cowlicks, or density. Look closely at the temples and behind the ear, where a mask can look pasted on. Compare two heights while holding the top length constant. If both the side and top change at once, you cannot tell which adjustment created the look you prefer. Save the versions and annotate the transition line or the amount of visible scalp that feels comfortable to you.
Face and beard proportions can shift when the sides are taken shorter. Compare the haircut with your usual beard length, then consider whether you want the beard line adjusted at the same appointment. A simulator may blend these areas without showing a realistic transition. Naming the relationship you want—connected, separated, or gradually tapered—can make the reference more actionable.
Check top length and direction in a familiar style
The top can be brushed forward, pushed back, parted, or left with natural movement. Those choices influence how much length you need and how the haircut frames the forehead. A short crop may depend on texture and direction; a longer top can fall differently when damp or styled with product. In a men hairstyle try-on, check whether the image follows your natural growth pattern or simply places hair in a standard shape. Compare the top at one length with two directions before making a bigger change. If your hair naturally lifts at the front or parts to one side, the photo should reflect that. A preview may smooth over a cowlick or add fullness that is not present. Treat that as a styling prompt: ask what length and product would be needed to create a similar effect, and whether the result is realistic for your daily routine. The cut should make sense on an ordinary morning, not only in a polished render.
Use plain language alongside haircut terminology. Instead of relying only on “mid fade,” point to where you want the shorter area to begin and how much contrast you prefer. This is especially useful if you and the barber use different terms. The preview can anchor the discussion, while the barber confirms what is feasible for your hairline and density.
Inspect the temples, hairline, and beard balance
Hairline detail often reveals where a virtual result stops matching the source photo. Check whether the temples remain visible, whether the edge looks too sharp, and how the sideburn connects to facial hair. If you keep a beard, look at the visual distance between the fade and beard line. A tidy blend can be a preference, but the simulator cannot tell a barber how your hair grows or whether a particular edge-up suits your natural pattern. Use the image to describe boundaries rather than demand pixel-level accuracy. You might ask to preserve the natural temple shape, keep sideburns longer, or avoid taking the fade too high. If the preview changes your hairline, compare a version with less contrast or choose another photo. Barbers can assess growth and density in person; an app overlay cannot. A realistic reference should help make those details explicit.
Growth changes the look after the appointment. A very sharp transition may soften quickly, while a longer top may need periodic shaping to keep its direction. The simulator shows the immediate finish, not the weeks that follow. Ask how the cut will grow out and what upkeep is needed so you can compare the full routine, not just the first-day image.
Use the preview to explain the cut
Bring one or two saved examples and name the feature you want from each: the fade height in one, the top direction in another, or the amount of length at the fringe. Ask the barber to translate those preferences into a cut suited to your hair texture and growth. The preview does not specify clipper guards, blending technique, or how the cut will look after several weeks of growth. A concise explanation can include what to keep, what to remove, and what you do not want. For instance, preserve length at the front, keep the sides neat but not high, and leave the natural part visible. Discuss beard balance separately if it matters to you. If you are unsure, start with a smaller adjustment and reassess at the next appointment. A simulator can make preferences easier to point out; the final plan still depends on a real consultation and the barber’s judgment.