A hairstyle preview is most helpful when it settles one practical question before you commit time, money, or a change you will wear every day. Use this guide to make a clear comparison, understand what a photo can and cannot show, and turn the result into a sensible next step.
Decide what kind of preview you need
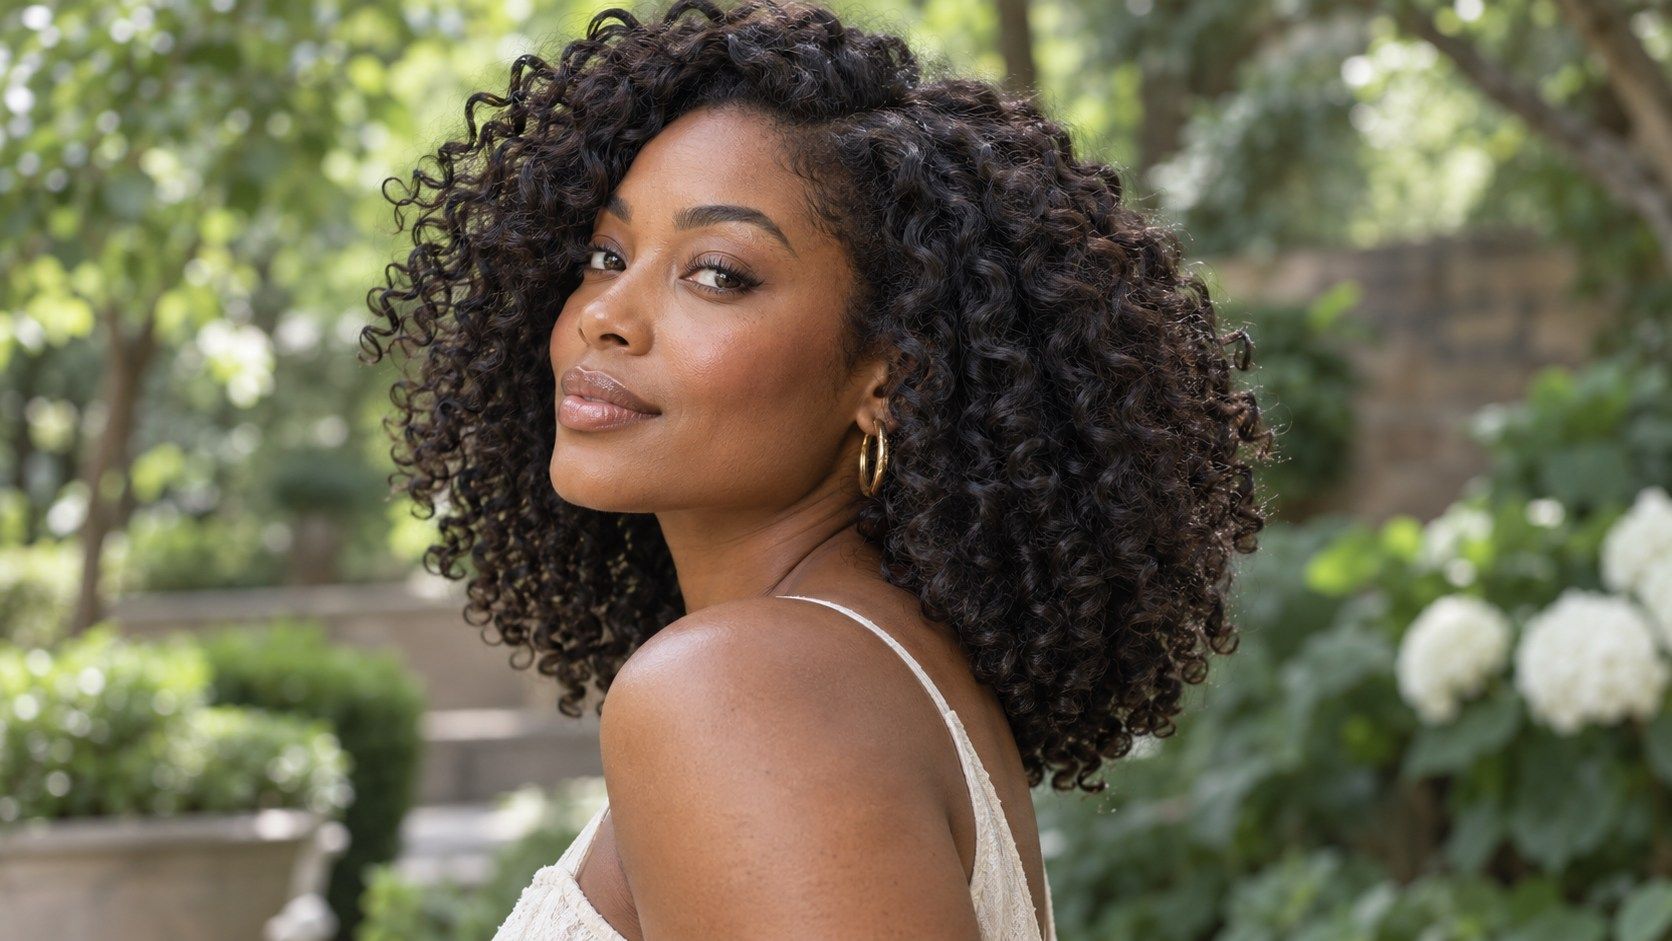
A digital overlay can place hair in front of a face, but it cannot reliably reproduce the weight, density, growth pattern, or movement of your own strands. Fine hair may sit differently from a rendered full fringe; curls may shrink or spring up; a cowlick can redirect a part. Treat the result as a visual conversation starter. It is a way to name a direction, not a guarantee of the exact salon outcome.
Before uploading, read the current screen for what the tool actually asks: camera access, a photo library selection, account creation, or permission to save an image. These choices are separate. If the privacy explanation is unclear, use a non-sensitive photo or stop before upload. Do not assume that a browser preview is processed on your device, or that closing a tab deletes an image already sent to a service.
Make comparisons fair by keeping the same photo, crop, expression, and lighting. If one result is generated from a closer crop, the hair can appear larger and the proportions may feel different for reasons unrelated to the cut. Save the image only if you need it, label it with the style you tested, and delete extra copies from shared devices. A concise shortlist of two or three options is easier to discuss than a camera roll full of near-duplicates.
Compare the style library, not just the rating
Choose a recent, front-facing photograph with the whole hairline visible and enough space around the head. Even light from a window is usually easier to read than a ceiling lamp that casts a dark band across the forehead. Keep the camera near eye level, move loose strands away from the face only if that reflects how you normally wear them, and avoid a beauty filter. The goal is a readable starting point, not a formal portrait.
Change one variable at a time. If you compare a short layered cut with long, smooth hair and a different color in the same pass, you cannot tell which change is driving your reaction. Hold the color and part steady while comparing length, then look at texture or fringe separately. A small set of deliberate comparisons is more useful than scrolling through dozens of unrelated looks and trying to remember what changed.
Look at the silhouette first, then inspect the details. Ask where the ends fall relative to your jaw, collarbone, or shoulders; whether the sides add width where you want it; and how the part meets your hairline. Zooming in too soon can make a convincing edge distract from a shape that does not suit your everyday routine. Step back to the full image between comparisons, just as you would when checking a haircut reference on a phone screen.
Read upload and deletion controls
A good final check is practical: could you explain what you like about the shape without pointing to the app? Name the length, the face-framing pieces, the fringe or part, and any feature you would change. Then ask how those details behave on your texture and how much styling they require after washing. A stylist can help translate a screen image into a cut that accounts for your hair, routine, and maintenance preferences.
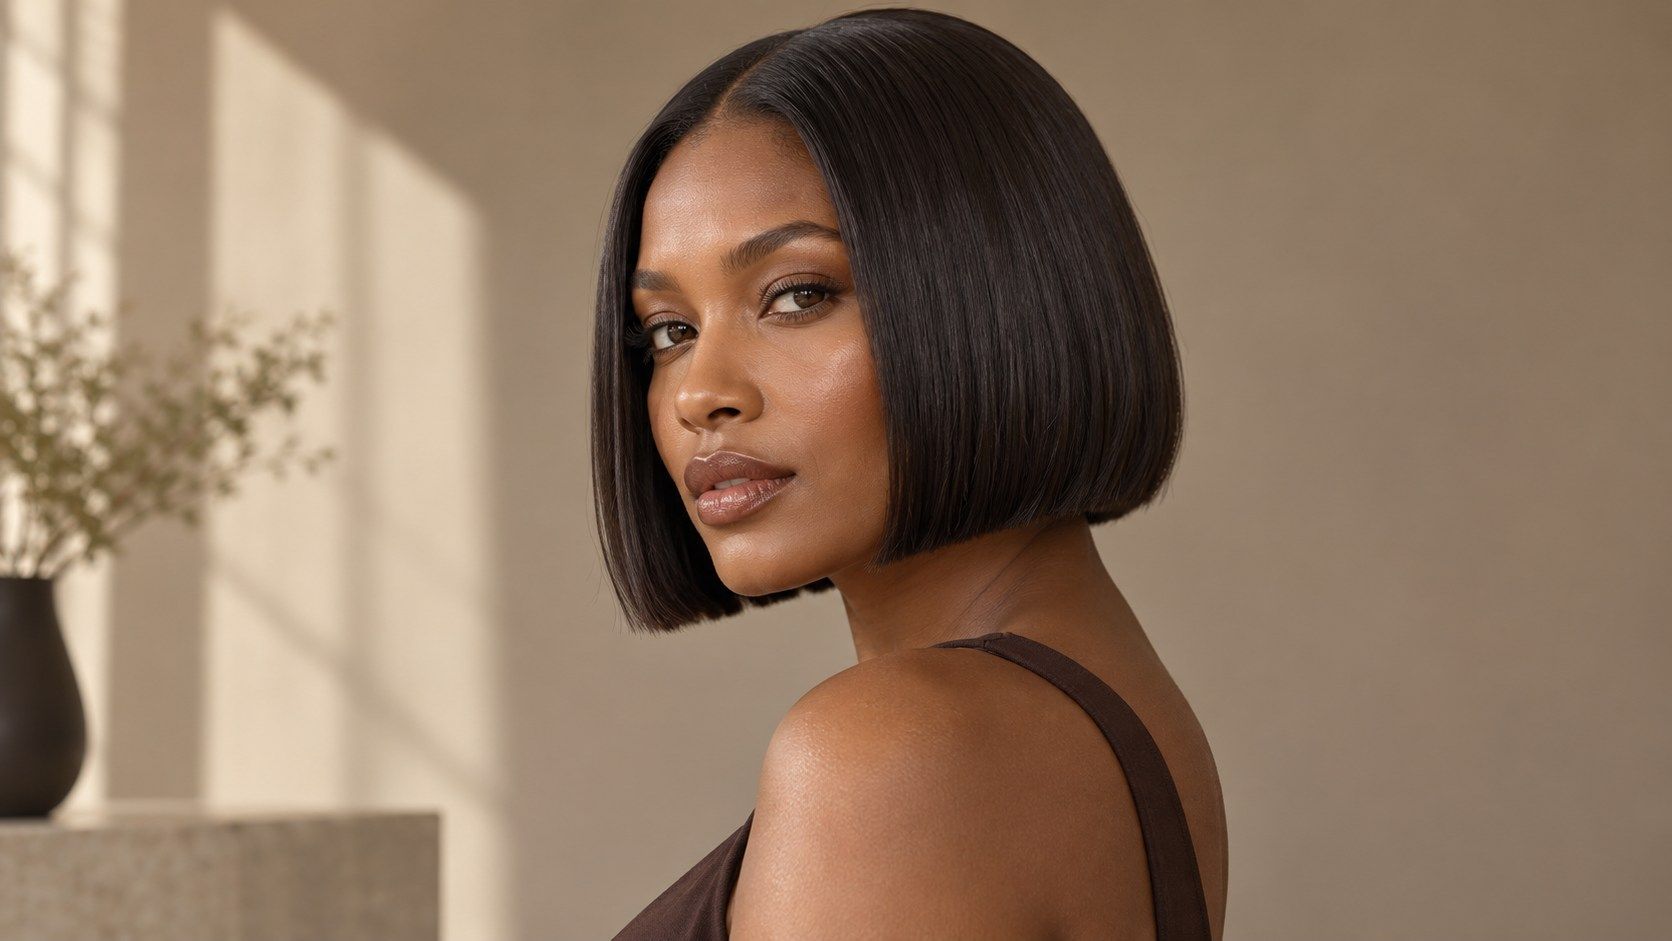
A useful hairstyle app for women session begins with a decision you can describe in one sentence. You might want to see whether a chin-length bob feels too abrupt, whether a fringe changes the balance around your eyes, or whether keeping shoulder length leaves enough room to tie your hair back. Write that question down before opening a tool. It gives you a way to judge the image beyond whether the first result looks polished.
Choose a recent, front-facing photograph with the whole hairline visible and enough space around the head. Even light from a window is usually easier to read than a ceiling lamp that casts a dark band across the forehead. Keep the camera near eye level, move loose strands away from the face only if that reflects how you normally wear them, and avoid a beauty filter. The goal is a readable starting point, not a formal portrait.
Check free limits before starting
Change one variable at a time. If you compare a short layered cut with long, smooth hair and a different color in the same pass, you cannot tell which change is driving your reaction. Hold the color and part steady while comparing length, then look at texture or fringe separately. A small set of deliberate comparisons is more useful than scrolling through dozens of unrelated looks and trying to remember what changed.
Look at the silhouette first, then inspect the details. Ask where the ends fall relative to your jaw, collarbone, or shoulders; whether the sides add width where you want it; and how the part meets your hairline. Zooming in too soon can make a convincing edge distract from a shape that does not suit your everyday routine. Step back to the full image between comparisons, just as you would when checking a haircut reference on a phone screen.
A digital overlay can place hair in front of a face, but it cannot reliably reproduce the weight, density, growth pattern, or movement of your own strands. Fine hair may sit differently from a rendered full fringe; curls may shrink or spring up; a cowlick can redirect a part. Treat the result as a visual conversation starter. It is a way to name a direction, not a guarantee of the exact salon outcome.
Keep the result in perspective
Change one variable at a time. If you compare a short layered cut with long, smooth hair and a different color in the same pass, you cannot tell which change is driving your reaction. Hold the color and part steady while comparing length, then look at texture or fringe separately. A small set of deliberate comparisons is more useful than scrolling through dozens of unrelated looks and trying to remember what changed.
Look at the silhouette first, then inspect the details. Ask where the ends fall relative to your jaw, collarbone, or shoulders; whether the sides add width where you want it; and how the part meets your hairline. Zooming in too soon can make a convincing edge distract from a shape that does not suit your everyday routine. Step back to the full image between comparisons, just as you would when checking a haircut reference on a phone screen.
A digital overlay can place hair in front of a face, but it cannot reliably reproduce the weight, density, growth pattern, or movement of your own strands. Fine hair may sit differently from a rendered full fringe; curls may shrink or spring up; a cowlick can redirect a part. Treat the result as a visual conversation starter. It is a way to name a direction, not a guarantee of the exact salon outcome.
Make the comparison useful
Use a short checklist to keep the decision grounded in the details that matter after the preview closes. The same visual may feel different once you account for your hair texture, styling time, and comfort with maintenance.
| Question | What to check |
|---|---|
| Shape | Length, outline, face-framing pieces, and part |
| Photo | Clear hairline, even light, consistent crop |
| Practical fit | Texture, daily routine, upkeep, and permissions |
| Next step | Save a small shortlist and discuss adjustments |
Keep the final choice open until you have considered how the cut will behave between salon visits and on an ordinary morning. A preview can make an idea easier to describe, while a qualified stylist can assess your hair in person and explain what is achievable with its length, density, texture, and growth pattern. If the image raises a concern, note it; that is useful information too.