Choosing a haircut is easier when you can compare a few clear possibilities before making a change. A photo preview gives you a way to look at shape, length, and framing on your own features, while leaving room for the realities a screen cannot show: texture, growth, styling, and the back of the cut. Use it to sharpen your questions and preferences, not as a prediction of an exact salon result.
Use face shape as one clue
A face-shape label can give you a starting point, but it cannot choose a haircut for you. In a hairstyle preview, look at relationships you can actually see: where the hair ends beside the jaw, whether the forehead is open or partly covered, and how much width sits near the cheeks. These observations are more useful than treating oval, round, square, heart, or long as fixed categories with matching rules. People rarely fit a diagram perfectly, and the same face can look different with a new part, expression, camera distance, or hair pulled back.
If you are deciding between two cuts, use the same clear, front-facing photo and change one feature at a time. A long face-framing layer can be compared with a chin-length outline; a side part can be compared with a center part. The purpose is to notice what changes around your own features, not to search for a supposedly correct answer. Your comfort with a silhouette, your routine, and the way you like your face to be framed all belong in the decision.
Compare where the cut adds width or length
A useful comparison asks where the eye travels. Hair that ends near the chin creates a visible horizontal point; longer pieces continue the line below it. Layers beginning near the cheek can bring attention to that area, while a smooth length that starts lower may keep the sides quieter. A preview helps you compare those placements in one image, but digital overlays can blur the edge or cover part of the jaw. Zoom out as well as in: the overall balance is easier to judge when you can see the whole head and shoulders.
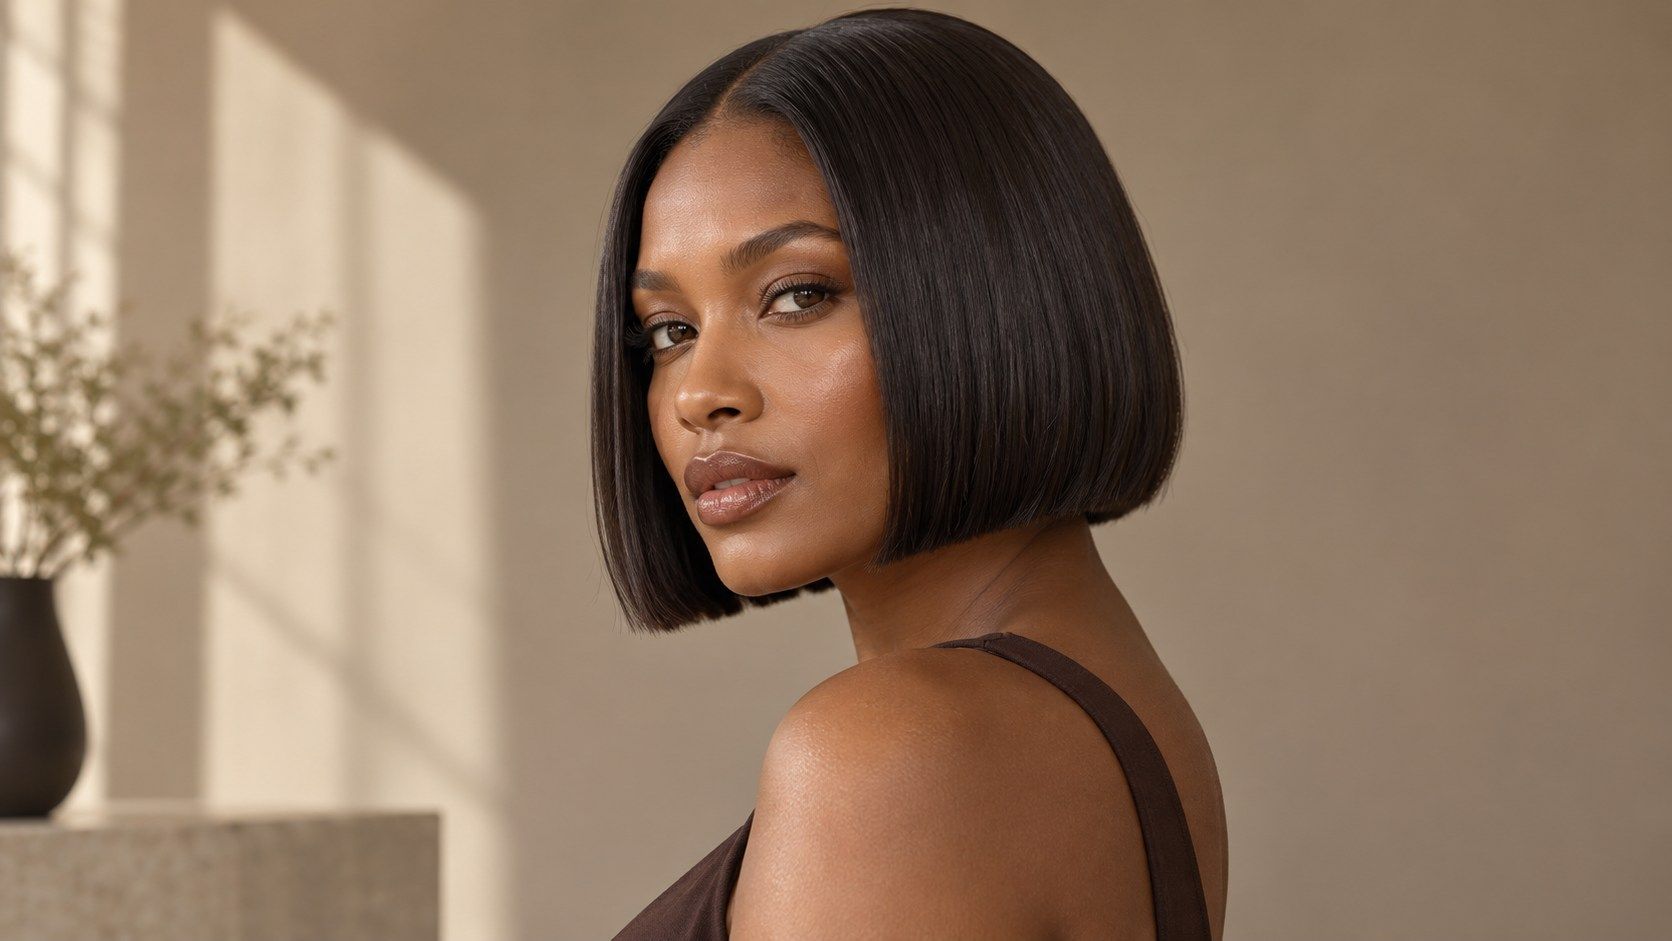
Try a small set of distinct shapes rather than many nearly identical presets. Compare a blunt shoulder-length cut, a soft layered outline, and a longer face-framing option. Keep the hair color and photo fixed so you can tell whether the impression comes from length or from an unrelated change in lighting. If the rendered ends look unusually dense or float beside the neck, treat that as a limitation of the overlay. A real cut will respond to your density, growth pattern, and styling.
Check the part and fringe separately
A center part exposes both sides of the forehead and creates a fairly even frame. A side part shifts the visual weight, while curtain fringe divides around the center and leaves the temples partly visible. These details can make a haircut seem wider, softer, or more open without changing its length. Use a haircut preview for face shape to compare the part first, then add a fringe variation. If a simulator changes several features at once, the result is harder to interpret.
Look closely at the hairline and temples. Many previews create a clean edge that may not match baby hairs, a cowlick, or a natural part that resists staying centered. Fringe also asks for daily attention: shorter pieces can fall forward, separate, or need a quick reset after washing. A screen can show where the fringe sits in a still image; it cannot tell you how it will move when you turn your head or step into wind.
Include texture and hair density
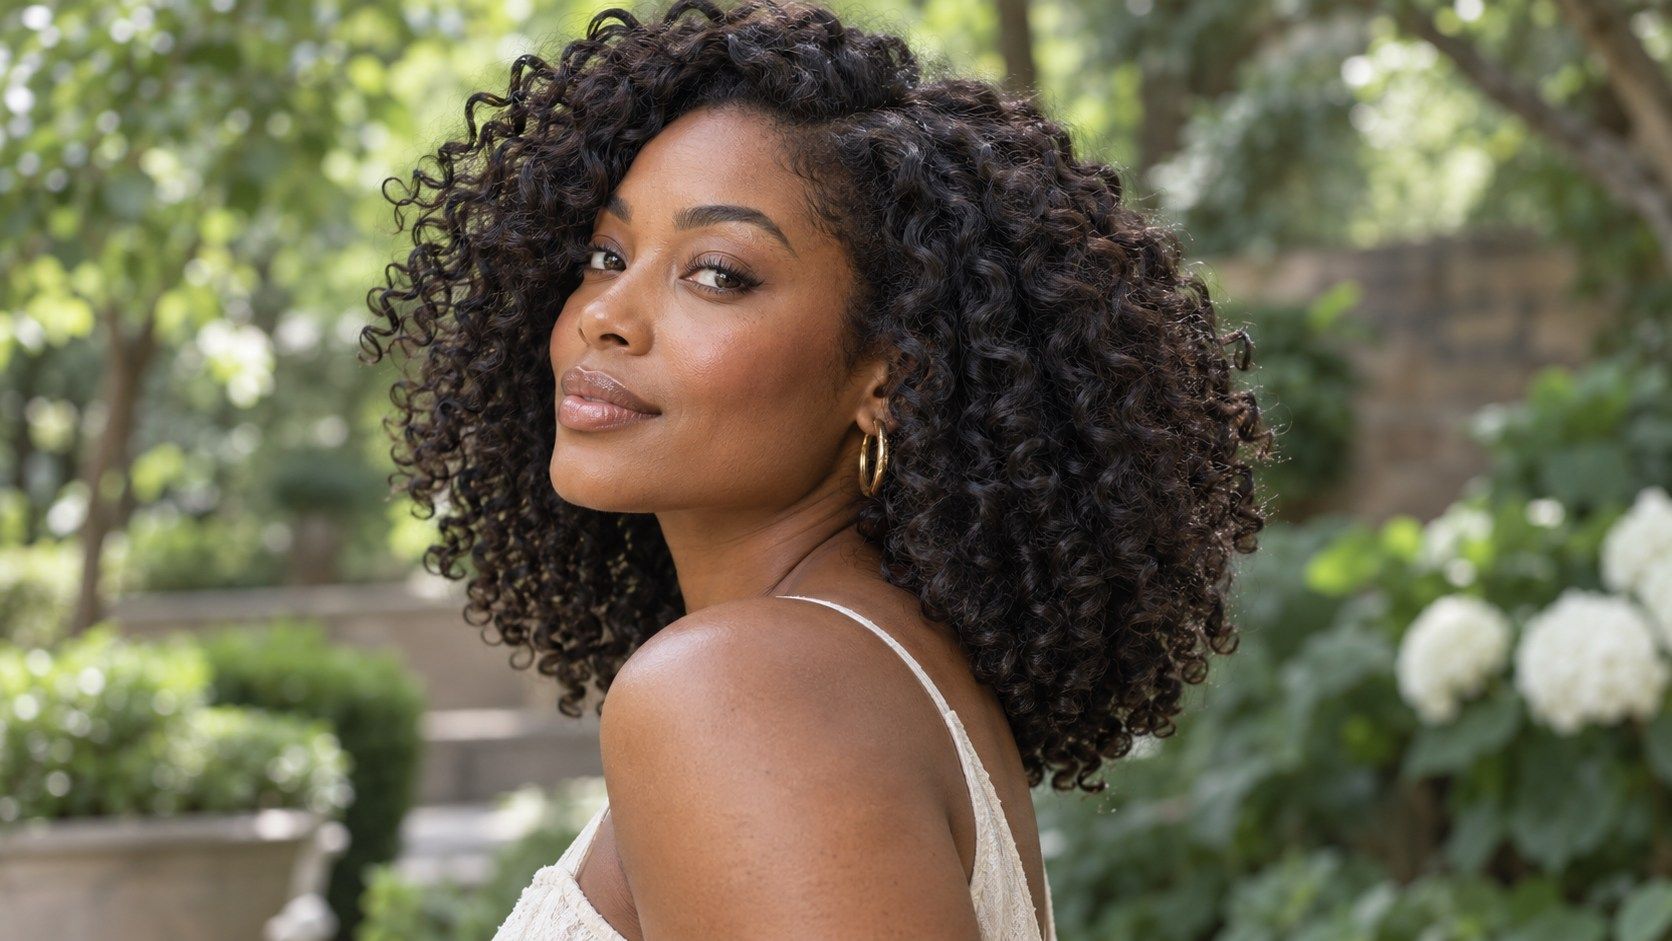
The same haircut outline can behave differently on fine straight hair, dense waves, coils, or curls. A layered shape may create movement in one texture and remove needed weight in another. Curly hair also changes apparent length when dry, so a digital image that places a curl at the collar may not correspond to the same cut length when stretched. If you can, preview a style on a photo that resembles how you usually wear your hair, rather than a special occasion image with a different finish.
Consider the practical check a stylist would need: how much hair is being removed, where the shortest layer begins, and how the shape will sit without a salon blowout. A virtual preview cannot show the full distribution of density or the feel of your ends. Save a few clear examples and describe what you like about each: “soft around the cheek” or “length stays below the collarbone” is more useful than asking for a shape solely because a face chart recommends it.
Choose by preference, not a rule
A face-framing haircut should work with the way you want to look and live. Someone may enjoy a fringe that draws attention to the eyes; someone else may prefer an open forehead or a simple outline that can be tied back. Neither choice needs to be justified by face geometry. Try a preview as a visual shortlist, then ask what the image cannot answer: how often the cut needs trimming, whether it can air-dry well, and how much length you are ready to lose.
Bring the comparison to a consultation with specific notes. Point to the cheek area, jawline, or ends you want to keep visible, and explain whether you prefer a crisp or blended edge. A stylist can account for growth direction, texture, and the back of the head in a way a front-facing simulator cannot. Treat the image as a conversation aid, not a promise of an exact salon result. If a version feels unfamiliar, give yourself time to identify whether the issue is the cut, the photo, or simply seeing a changed silhouette.
A good reference set has contrast without becoming a catalogue. Pick one option that preserves most of your current outline, one that changes the frame near the face, and one that changes the endpoint. Write a short note under each image about the feature you want to keep or change. That helps avoid a vague consultation and gives you a chance to separate an appealing photo from a practical haircut. If one side of your face is partly hidden, retake the picture before drawing conclusions. A fair comparison depends on seeing the same features in each version.
A good reference set has contrast without becoming a catalogue. Pick one option that preserves most of your current outline, one that changes the frame near the face, and one that changes the endpoint. Write a short note under each image about the feature you want to keep or change. That helps avoid a vague consultation and gives you a chance to separate an appealing photo from a practical haircut. If one side of your face is partly hidden, retake the picture before drawing conclusions. A fair comparison depends on seeing the same features in each version.